QuickTime screen recording is a valuable tool that allows users to capture their screen activity on macOS effortlessly. With its user-friendly interface and high-quality output, QuickTime has become a go-to choice for many users, whether for creating tutorials, recording gameplay, or capturing presentations. However, understanding how to stop QuickTime screen recording is just as crucial as starting it, as users often find themselves uncertain about ending their sessions. This article delves into the essential steps to successfully stop your screen recording, troubleshoot common issues, and enhance your overall experience with QuickTime.
Understanding QuickTime Screen Recording
What is QuickTime?
QuickTime is a multimedia framework developed by Apple Inc. that supports various formats for video, sound, and interactive content. It serves dual purposes: as a media player and a platform for recording and editing media. The application is particularly well-known for its screen recording capabilities, allowing users to capture their screen activity with ease.
Why Use QuickTime for Screen Recording?
There are several reasons why users prefer QuickTime for their screen recording needs:
- User-friendly interface: QuickTime offers an intuitive design that makes it simple for users of all skill levels to navigate.
- High-quality recordings: Users benefit from excellent video quality and smooth playback, which is essential for professional presentations.
- Free software for macOS users: QuickTime is included with macOS at no additional cost, making it accessible to a broad audience.
How to Start a QuickTime Screen Recording
Step-by-Step Guide
Getting started with a screen recording on QuickTime is straightforward. Follow these steps to begin:
- Launching QuickTime Player: Locate QuickTime Player in your Applications folder or search for it via Spotlight.
- Choosing New Screen Recording: Click on “File” in the menu bar, then select “New Screen Recording.”
- Selecting recording options: Before starting, choose your recording preferences, such as microphone input for sound.
- Starting the recording: Press the red record button when you are ready to start capturing your screen.
Signs That Your Screen Recording is Active
Visual Indicators
When your screen recording is in progress, there are several visual cues to look out for:
- QuickTime icon in the menu bar: A small QuickTime icon appears, indicating that the recording is active.
- On-screen timer and recording logo: A timer starts counting, providing a clear visual reference for how long you’ve been recording.
Audio Indicators
Another indicator that your recording has begun is the audio feedback. QuickTime may emit a sound when you start the recording, marking that you’re live and capturing content.
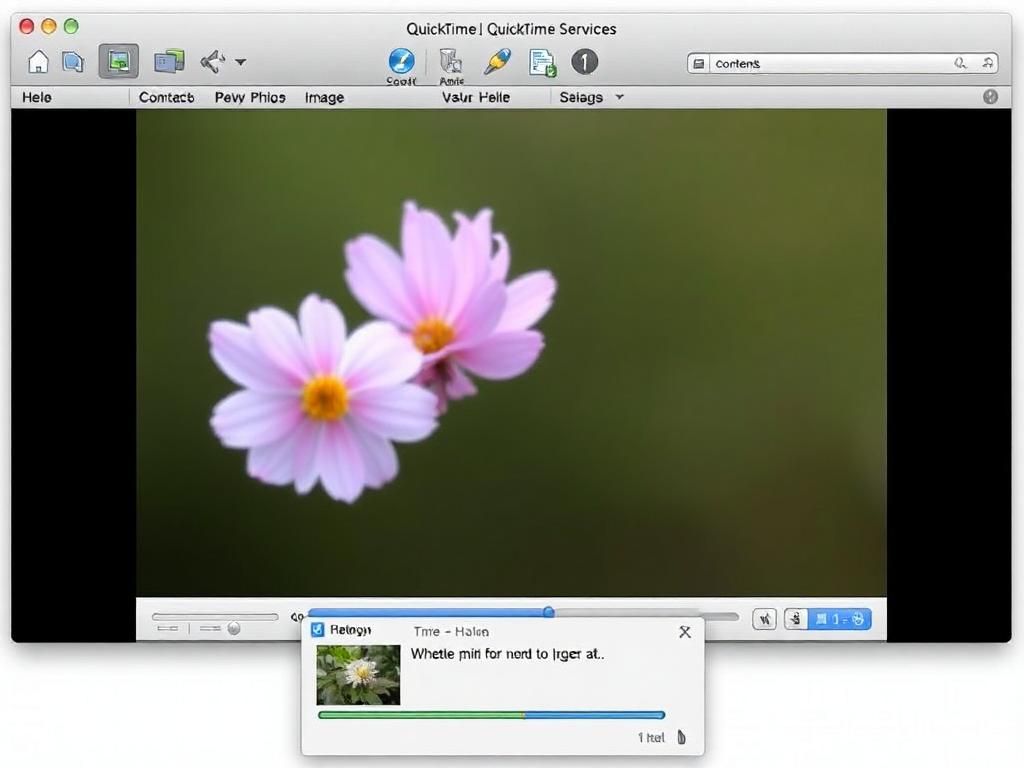
How to Stop QuickTime Screen Recording
Stopping the Recording via Menu Bar
To stop your recording with ease, using the menu bar is the most common method:
- Clicking the QuickTime icon in the menu bar: Locate the small QuickTime icon at the top of your screen.
- Selecting “Stop Recording” option: Click the icon and select the “Stop Recording” option to end the session.
Keyboard Shortcut Method
If you’re looking for a quick and efficient way to stop QuickTime screen recording, you can utilize a keyboard shortcut:
- Using the Command + Control + Esc keys: Pressing these keys simultaneously will halt your recording immediately.
- Explanation of how this method works: This shortcut is designed to bypass the visual cues and swiftly stop the recording, allowing for rapid workflow.
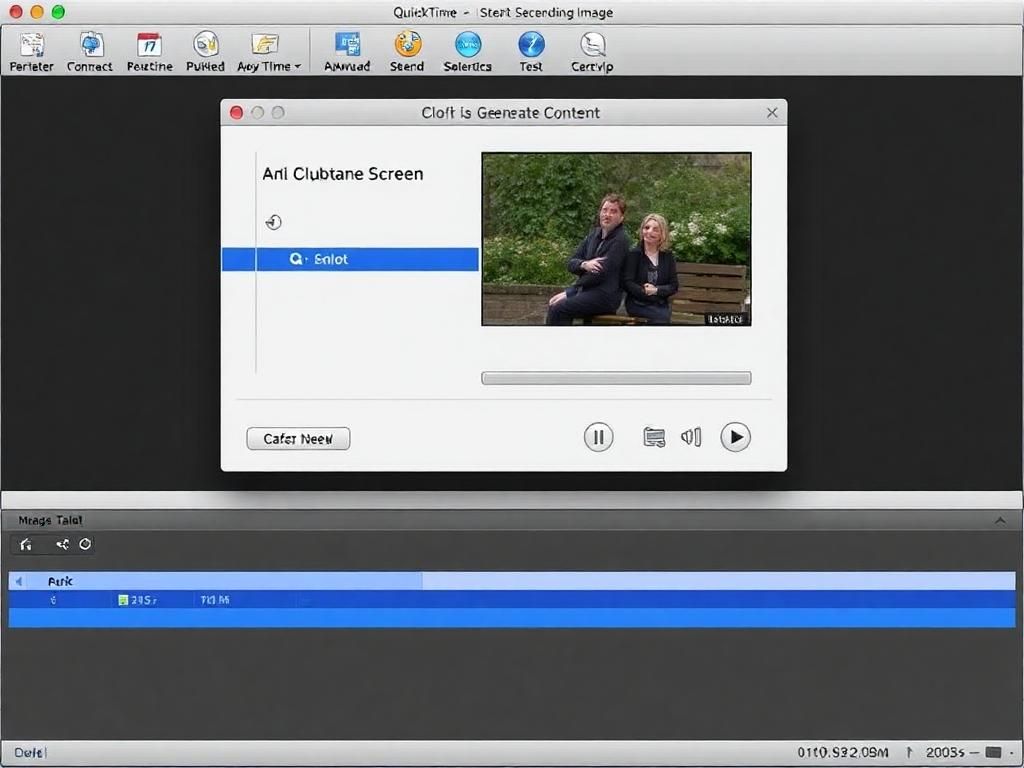
Conclusion of the Recording
Once you have successfully stopped your screen recording, you will be prompted to save your file:
- Saving the recording file: Choose a suitable file name and location to store your video for later access.
- Options for discarding unwanted recordings: If the recording does not meet your expectations, you can opt to discard it and start a new recording session.
Troubleshooting Common Issues
Recording Won’t Stop
Sometimes users encounter issues where their recording doesn’t stop as it should. Possible reasons could include:
- Possible reasons for recording glitches: Software bugs, low system resources, or conflicts with other applications.
- Recommended solutions: Engage in troubleshooting steps such as force quitting QuickTime, checking for system updates, or restarting your Mac.
Screen Recording Not Found
Another common issue is not being able to locate saved recordings. If this happens, consider:
- Issues related to saved recordings: It might be saved in a different location than expected or possibly discarded unintentionally.
- Recovering lost or unsaved files: Look in the default save locations, such as the Movies folder or check the Trash.
Additional Tips for Using QuickTime Screen Recording
Editing Features
QuickTime also offers basic editing capabilities for users who want to refine their recordings:
- Basic editing options within QuickTime: You can trim or cut sections of your video without needing advanced editing software.
Best Practices for Quality Recordings
To ensure the highest quality in your recordings, keep the following tips in mind:
- Optimal settings for resolution and audio: Set your recording settings to match your desired output quality, usually 1080p for high-definition recordings.
- Tips for reducing ambient noise: Opt for a quiet environment or use external microphones to enhance audio clarity.
Exploring Alternatives to QuickTime
While QuickTime is a robust option, there are other screen recording software choices available for macOS users:
- Other screen recording software options: Explore alternatives like OBS Studio and ScreenFlow.
- Pros and cons of these alternatives: Each software has unique features and limitations; some may offer advanced editing tools, while others are better for simple recordings.
Conclusion
In mastering QuickTime, knowing how to stop QuickTime screen recording enhances the usability and experience of this powerful tool. With its intuitive options and additional features, many users can optimize their screen capturing experiences. As you explore QuickTime’s various functions and discover solutions to obstacles, we encourage you to share your experiences or questions in the comments section.
FAQs
How can I pause a QuickTime screen recording?
Currently, QuickTime does not support a built-in pause feature. If you need to stop temporarily, you must finish the recording and then start a new one.
Can I recover an unsaved QuickTime recording?
If you forget to save your recording, QuickTime usually doesn’t store it. Look for temporary files in case there might be an automated backup, but recovery chances are minimal without saving.
What file format does QuickTime use for recordings?
QuickTime primarily uses the .mov file format for recordings, which supports various media types and is widely compatible.
Is QuickTime available for Windows?
QuickTime is no longer officially supported on Windows, and users are encouraged to explore alternative media playback and editing solutions.
Table Summary of Key Information
| Feature | Description |
|---|---|
| Launch QuickTime | Find in Applications or use Spotlight. |
| Start Recording | Select New Screen Recording from the File menu. |
| Stop Recording | Click the QuickTime icon in the menu bar or use Command + Control + Esc. |
| Save Options | Name the file and choose a saving location. |
| Troubleshooting | Force quit or restart if recording won’t stop. |
| Editing Features | Trim and cut recordings directly within QuickTime. |
| Alternatives | Explore OBS Studio, ScreenFlow for more advanced features. |